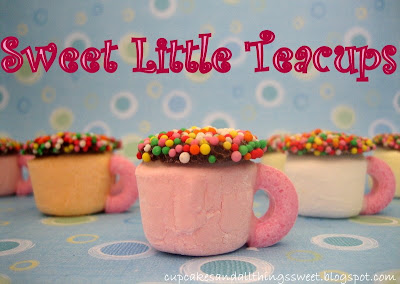
 These are soooo simple to make, any Little Chef can do these. The only thing I didn't let LC do was the cutting of the lifesavers - that's strictly an adults job.
 Pop the whole thing into your mouth- yum. Even my husband commented they were really good.
Little Teacups
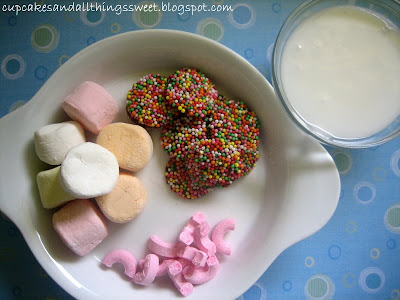
250g marshmallows
1 packet of freckles
2 packets of musk lifesavers, cut in half with sharp knife
approx. 3/4 cup icing sugar
water, just a little bit
Mix the icing sugar and water together till you get a thick paste.
 Put a small amount of icing on the freckle. LC used a knife but I find it easier to use my finger, a bit messy but easier. Place the freckle on top of the larger end of the marshmallow.
 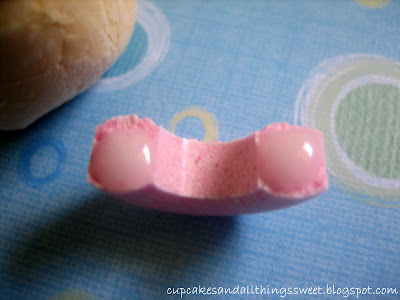 Now put some icing on one half of a broken lifesaver. You can use your finger, a knife or dip it into the icing - make sure to hold on tight though.
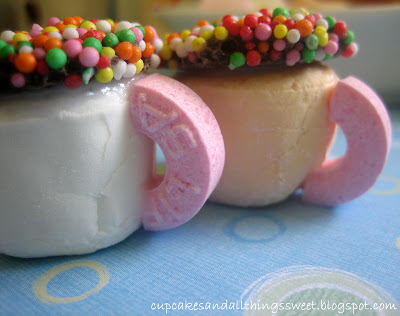 Now place the lifesaver on to the side of marshmallow making sure to press it in for a few seconds. I prefered having the back of the lifesaver facing forward rather than having the lifesaver front (with the word 'Lifesaver') facing you, I think it looks better.
There are more of these little teacups over at Planning With Kids. They use a biscuit as a saucer which is really cool. There are also instructions and heaps of photos.


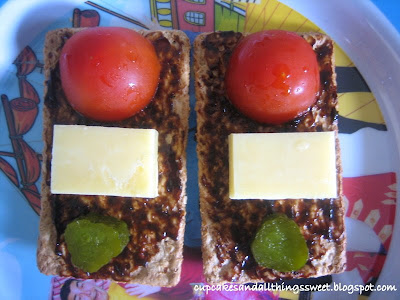


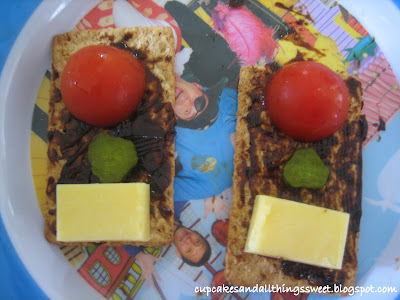 Little Chefs crackers. She's known her traffic lights since she was two! lol


 Very hip. My husband said the one on the left looks like a
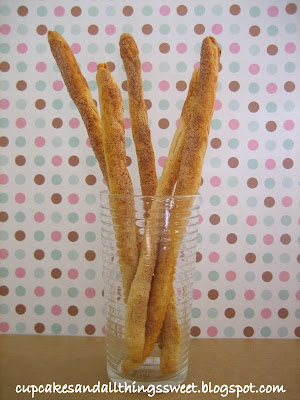 try some very yummy cinnamon and sugar bread sticks.
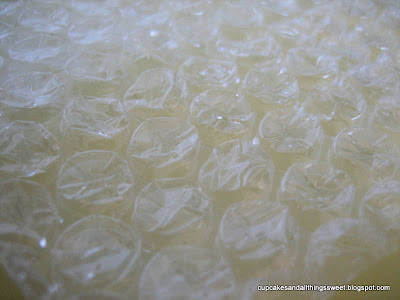 You'll need 30 x 25cm sheet of bubble wrap.
 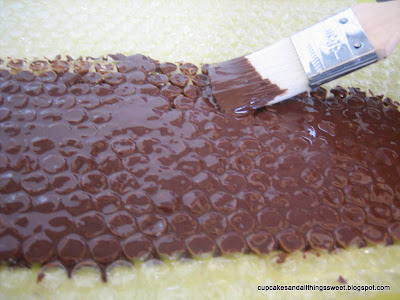 Now, brush over 100g dark chocolate. I used more than 100g. I like my bubbles well and truly covered.
 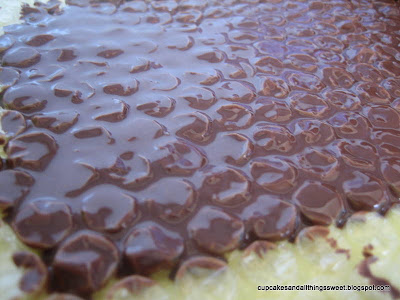 Make sure to get the chocolate into the the holes between the bubbles.
 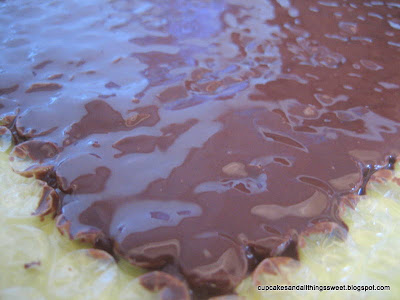 Well and truly covered. Put in the fridge for 15 minutes.
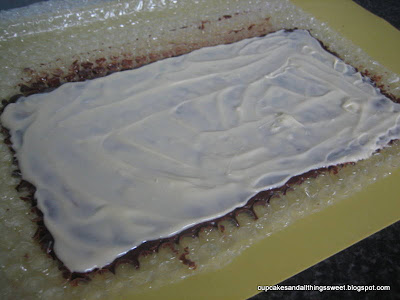 Melt 100g of white chocolate, let it cool a bit and spread it over the dark chocolate. Chill for 15 minutes.
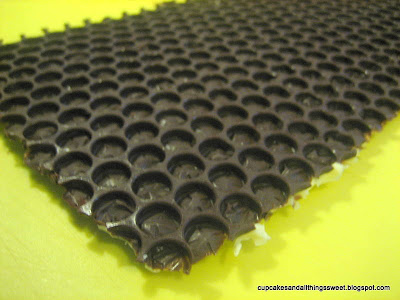 When it's all set, carefully peel the bubble wrap off. Now cut shapes out with cookie cutters and there you have them...
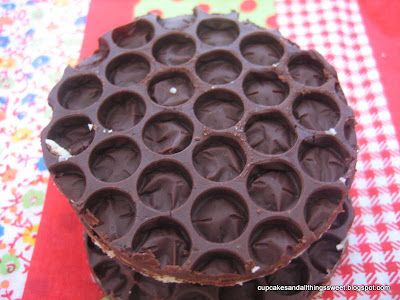
 Think of the surprise littlies (and biggies) will get when they see these in their lunch box. Better still, let the kids make their own sandwiches for lunch, these are easy to make and i'm sure they'll have fun. *You can store any leftover bread in the freezer and use later as breadcrumbs.
 Cut two pieces of bread with a cutter.


 That combo was Little Chefs idea and apparently it tasted great!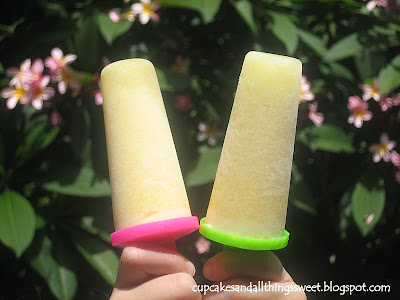
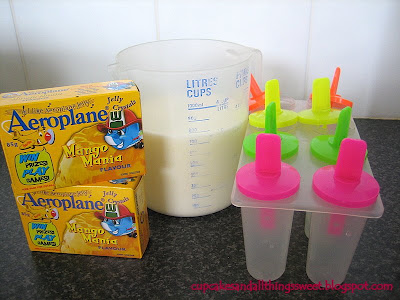
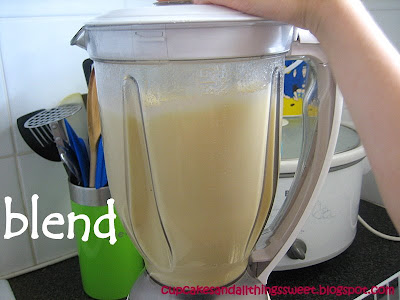
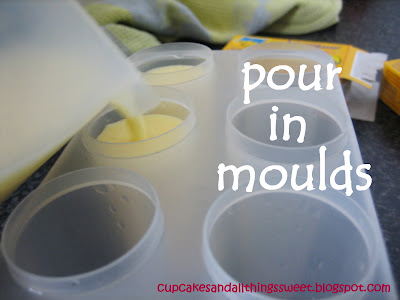
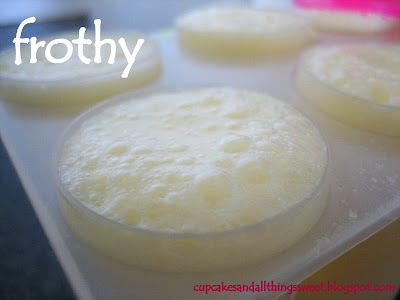
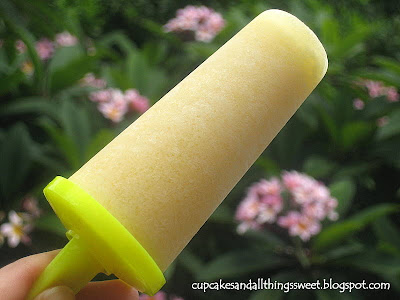 Summer Yum!
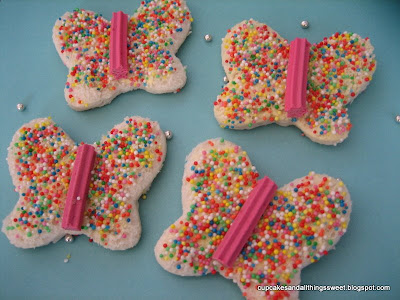 Butterfly Fairy Bread is a twist on the Aussie favourite Fairy Bread. Fairy Bread is a MUST at kids birthday parties. Actually, i've been know to eat a few Fairy Bread sandwiches just for the fun of it!
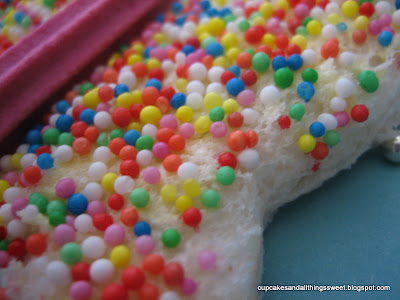 The Sprinkles Fairy makes sure my kitchen is stocked with plenty of hundreds and thousands.
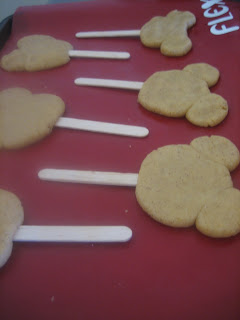
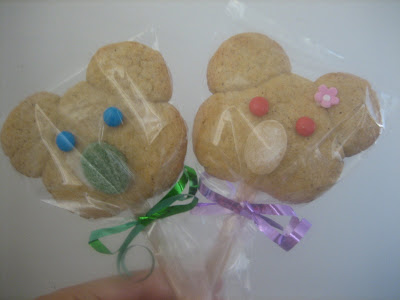 These biscuits turned out great. Petal did a lot of the work on these because they are really easy. We'll be making another batch soon so Petal can give some to her friends as Christmas gifts.